Serverless Cloud is a backend platform from the team who created the Serverless Framework. It provides Cloud runtime, CLI and SDK in a single platform to boost developer productivity. In this post, we will build a Next.js application which reads data from Serverless Redis (Upstash) and deploy it to Serverless Cloud.
Setup
First initiate the Serverless Cloud with: npm init cloud
? Do you want to create a new app or work on an existing one?
ℹ You've selected Create new app.
ℹ Please choose an app template to generate in this directory.
ℹ You've selected Next.js.
ℹ Please enter a name for your app.
ℹ You've entered serverless-cloud.
Select Next.js as the template so a new Next.js project will be generated.
In the project folder install Upstash Redis client:
npm install @upstash/redis
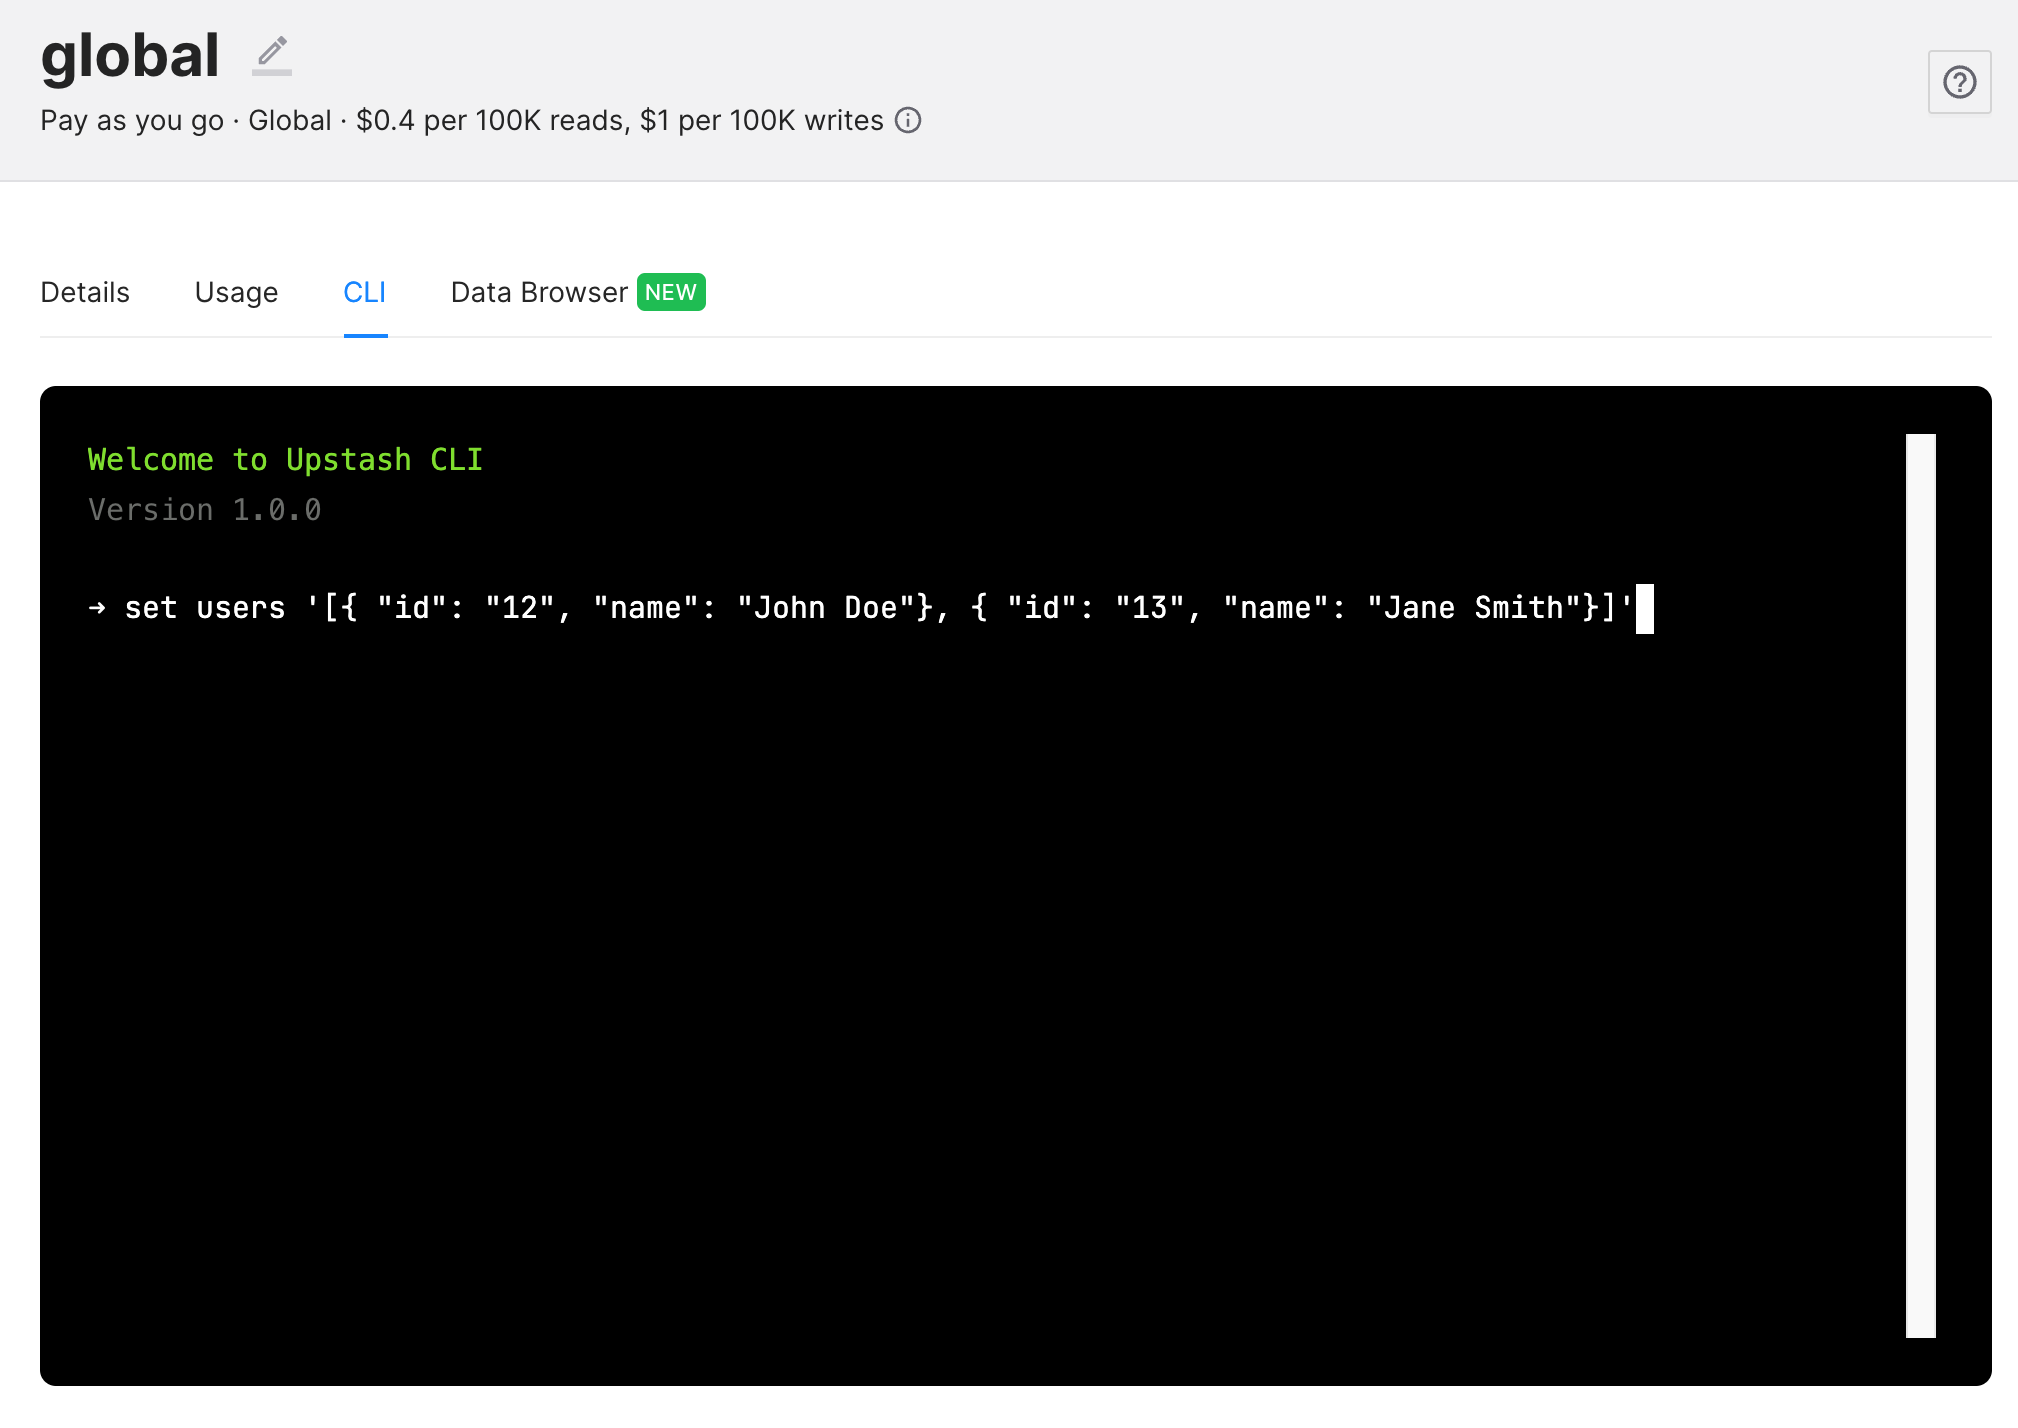
Create a Redis database using Upstash Console. Using the CLI insert users data as below:
set users '[{ "id": "12", "name": "John Doe"}, { "id": "13", "name": "Jane Smith"}]'
Update the user.js as below replacing the Upstash REST URL and Token:
// Next.js API route support: https://nextjs.org/docs/api-routes/introduction
import { Redis } from "@upstash/redis";

const redis = new Redis({
  url: "REPLACE_HERE",
  token: "REPLACE_HERE",
});

export default async function handler(req, res) {
  const data = await redis.get("users");
  res.status(200).json({ users: data });
}
Test and Deploy
In the Serverless Cloud interactive CLI, run dev. You need to see something like below on your http://localhost:3000/ :

As you see the users that you store in Redis is listed.
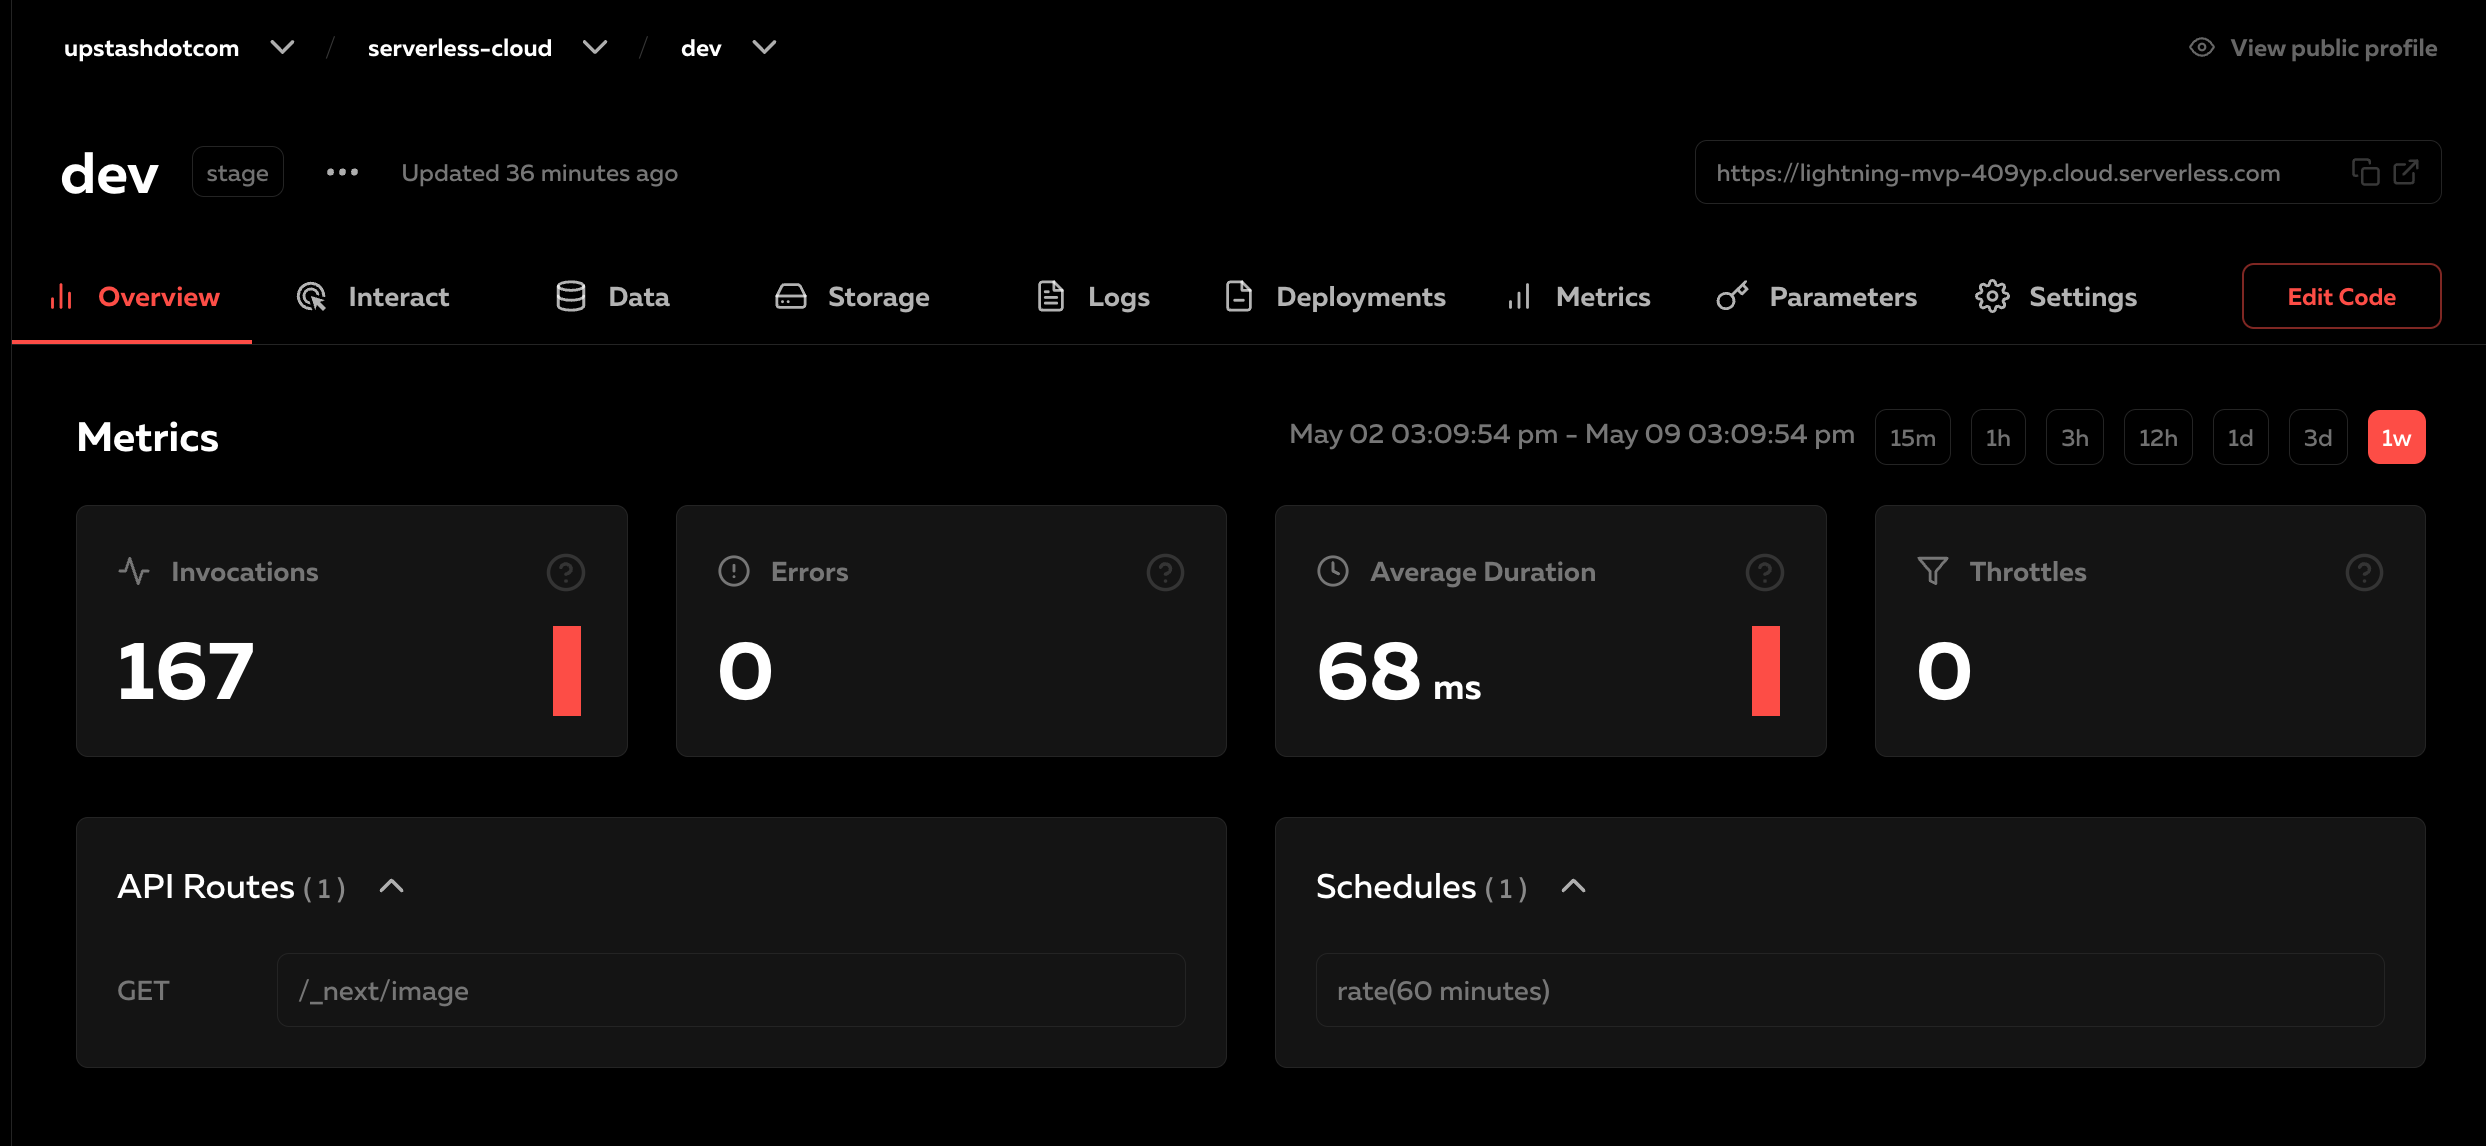
Deploy your application to the cloud with command: deploy dev in the interactive CLI. You can check the metrics and application logs using the Serverless Cloud dashboard

Closing Words
In this post, we have created a Next.js application on Serverless Cloud and used Upstash Redis as the data store.
